Asalamualaikum wwb

Selamat datang di bloggerku. Terimakasih telah berkunjung kemari. Disini anda akan mendapatkan berbagai informasi yang mudah-mudahan menarik dan menambah pengetahuan anda.

Thursday, October 27, 2011

cara install network manager gnome ke taskbar add to panel (notfication area) LINUX Ubuntu Backtrack


cara install network manager gnome ke taskbar (add to panel) (notfication area) LINUX Ubuntu Backtrack
uninstall network-manager & configurasi-nya:
$ sudo aptitude purge remove network-manager network-manager-gnome libnm-glib2 libnm-util1

kemudian instal lagi:
$ sudo aptitude install network-manager network-manager-gnome libnm-glib2 libnm-util1

buka terminal lalu eksekusi perintah berikut.

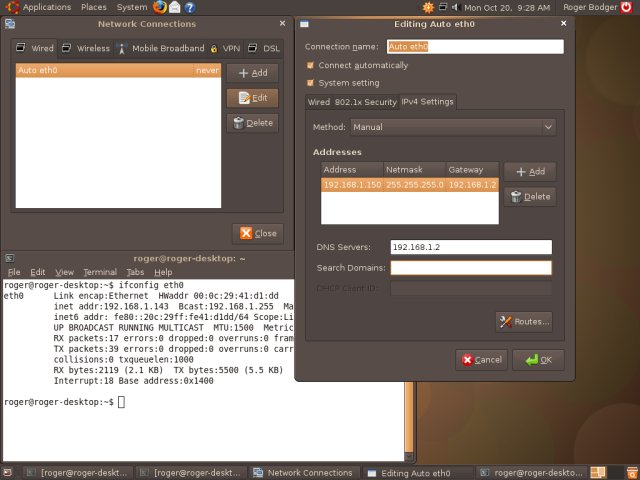
sudo gedit /etc/NetworkManager/nm-system-settings.conf

kemudian rubah nilai dari “managed=false” menjadi “managed=true” kemudian keluar lalu save file tersebut.

klik kanan pada panel kemudian pilih add to panel >> dan aktifkan Notification Area

restart jaringan
$ sudo /etc/init.d/networking restart

jika belum bisa tampil coba dengan merestart komputer/laptop anda. GOOD LUCK!

Tuesday, October 18, 2011

Hack performance windows

Cara mengganti ubuntu server, dari DHCP menjadi IP statik

If the Ubuntu Server installer has set your server to use DHCP, you will want to change it to a static IP address so that people can actually use it.
Changing this setting without a GUI will require some text editing, but that’s classic linux, right?
Let’s open up the /etc/network/interfaces file. I’m going to use vi, but you can choose a different editor
sudo vi /etc/network/interfaces
For the primary interface, which is usually eth0, you will see these lines:
auto eth0
iface eth0 inet dhcp
As you can see, it’s using DHCP right now. We are going to change dhcp to static, and then there are a number of options that should be added below it. Obviously you’d customize this to your network.
auto eth0
iface eth0 inet static
        address 192.168.1.100
        netmask 255.255.255.0
        network 192.168.1.0
        broadcast 192.168.1.255
        gateway 192.168.1.1
Now we’ll need to add in the DNS settings by editing the resolv.conf file:
sudo vi /etc/resolv.conf
On the line ‘name server xxx.xxx.xxx.xxx’ replace the x with the IP of your name server. (You can do ifconfig /all to find out what they are)
You need to also remove the dhcp client for this to stick (thanks to Peter for noticing). You might need to remove dhcp-client3 instead.

sudo apt-get remove dhcp-client
Now we’ll just need to restart the networking components:
sudo /etc/init.d/networking restart
Ping www.google.com. If you get a response, name resolution is working(unless of course if google is in your hosts file).
Really pretty simple.

artikel ini di ambil dari howtogeek.com